Give Your Old Batteries New Life: Build a DIY Power Bank
Discarded batteries contribute significantly to e-waste. Instead of tossing them, why not repurpose them into something useful? This guide will show you how to safely recycle old battery cells and create your own DIY power bank.
Safety First!
Working with batteries can be hazardous. Take these precautions:
- Wear safety glasses and gloves: Protect your eyes and skin from potential leaks or explosions.
- Work in a well-ventilated area: Battery fumes can be harmful.
- Never short-circuit batteries: This can cause overheating and fire.
- Dispose of damaged batteries properly: Do not attempt to use batteries with cracks, leaks, or bulging.
- Adult supervision required: If you are a minor, ensure an adult is present during the entire process.
Gathering Your Materials
Here’s what you’ll need:
- Used lithium-ion batteries: 18650 cells are recommended for their capacity and availability (salvaged from old laptops, power tools, etc.). Ensure the cells have similar voltage and capacity for optimal performance.
- Battery holder case: Choose a case that fits the number of batteries you plan to use.
- Charging and boosting circuit module: These modules are readily available online and manage the charging and discharging process.
- Soldering iron and solder: To connect the components.
- Wires: To connect the battery holder to the circuit module.
- USB cable: For charging the power bank.
- Enclosure (optional): A plastic or metal box to house the finished power bank.
- Multimeter (recommended): To test battery voltage and ensure proper connections.
Step-by-Step Guide
- Test your batteries: Use a multimeter to check the voltage of each cell. Discard any cells with significantly lower voltage than the others.
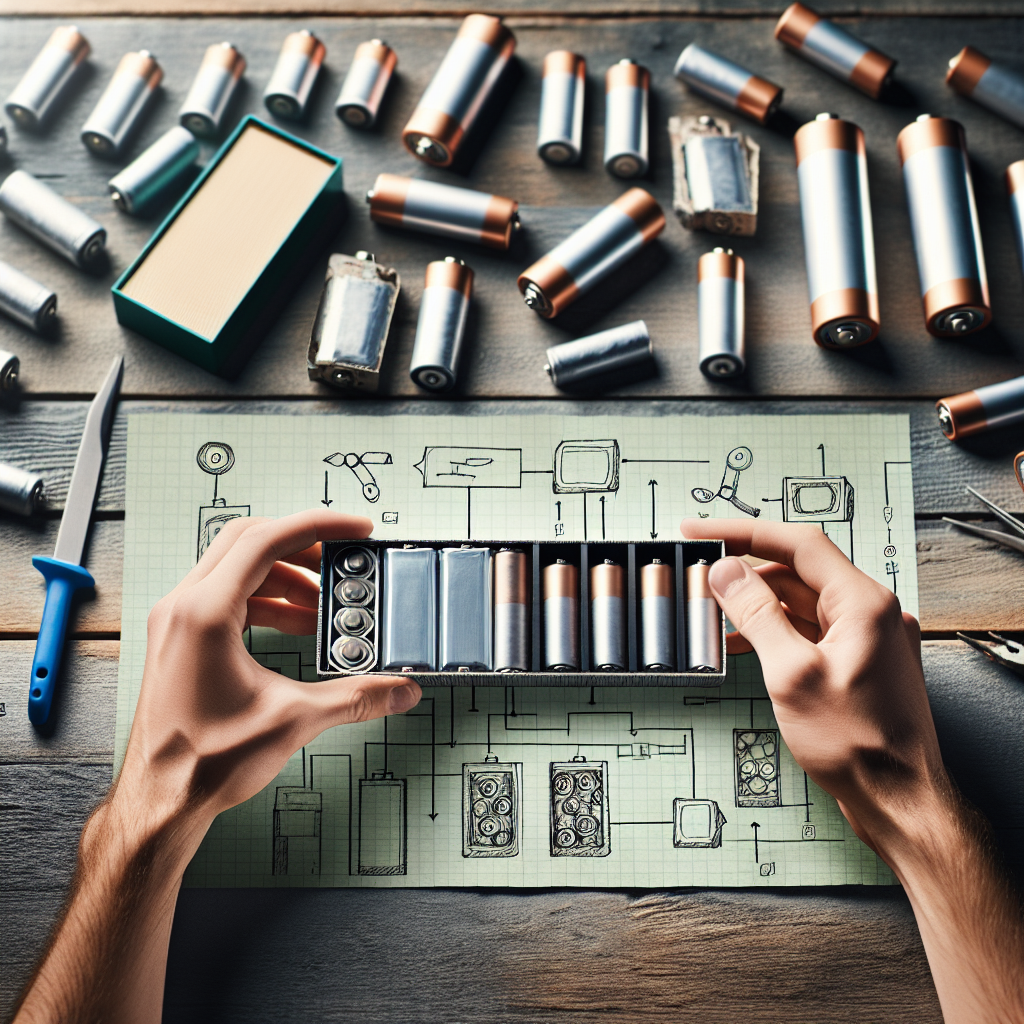
- Prepare the battery holder: Insert the batteries into the holder, ensuring correct polarity.
- Connect the battery holder to the charging/boosting module: Solder the positive and negative wires from the battery holder to the corresponding terminals on the module. Refer to the module’s instructions for proper wiring.
- Test the circuit: Connect a USB cable and check if the module is charging. Use the multimeter to verify the output voltage.
- Assemble the power bank: If using an enclosure, carefully place the components inside and secure them.
- Charge and enjoy: Connect the power bank to a power source and let it charge fully before using.
Tips for Success
- Source batteries carefully: Avoid using severely damaged or very old batteries.
- Match battery capacities: Using cells with similar capacities will improve performance and lifespan.
- Choose a suitable charging module: Select a module with appropriate input and output voltage and current ratings.
- Double-check your connections: Ensure all solder joints are secure and properly insulated.
- Label your creation: Add a label indicating the battery type and capacity.
Recycling and Environmental Impact
Building a DIY power bank is a great way to recycle old batteries and reduce e-waste. By repurposing these materials, you’re contributing to a more sustainable future. Remember to dispose of any unusable batteries responsibly at a designated recycling center.
Advanced Modifications
Once you’re comfortable with the basic build, explore these modifications:
- Add an LCD display: Show battery percentage and charging status.
- Incorporate a flashlight: Combine functionality for added utility.
- Use different battery types: Experiment with other lithium-ion cell sizes.
Building a DIY power bank is a rewarding project that combines practicality and environmental consciousness. By following this guide and taking necessary precautions, you can give your old batteries a new lease on life and power your devices on the go.